Good morning blogland! I'm so happy to be blogging today and sharing a new Technique a Week Post for Oddball Art Stamps. This is maybe more of a "how to" or "fun idea" than a specific/technical papercrafting "technique", but it's handy in a pinch, super easy, and lets you produce projects quickly with limited supplies. Who WOULDN'T want that particular trick in their crafty arsenal?!
Punches-As-Stencils
With the introduction of the Sizzix machine, and then quickly morphing into the wafter-thin die/die-cut craze, punches seem to be a thing of the past. I know I have COMPLETELY bought in to the die purchasing frenzy (literally. don't tell hubby.), but I still kept around a lot of punches. For one thing, I had already bought them! Why buy a border die when you already own the same thing in punches, am I right? Well, storage may be easier, but storage space isn't an issue for me at this time, so suffice to say, I saved my pennies for buying dies and markers and toys that are not duplicates of other items. Yay for more!
In addition, there are those more "casual crafters" (like my mom, for example), that have some things and like to play, but are not as fully committed (crazy) as the rest of us, and may not have ALL the latest gadgets. In this case, punches are fast and easy, but still allow them some flexibility in creation and imagination. Yay for that too!
Anywho...
For the latter types, I got to thinking...what other ways are there to stretch your crafting dollars? Especially when you may also be limited by storage space, work space, and easily overwhelmed by simply having all this STUFF to use. I realized that for those times where you may not have 3 hours free to color a background scene to go along with an image, or if you are feeling like more of a beginner in that area, there are some quick and easy shortcuts that can help add depth and dimension to your projects without making it feel like your crafting space has exploded with the force of a sun going nova.
You will need:
- Punches of your choice. Dies will also work, by the way. Mix it up!
- Scrap papers to use with your punches/dies
- Main image panel(s) to stencil over
- Ink
- Sponges
- Removable tape to help hold things in place while you're sponging
The Deets:
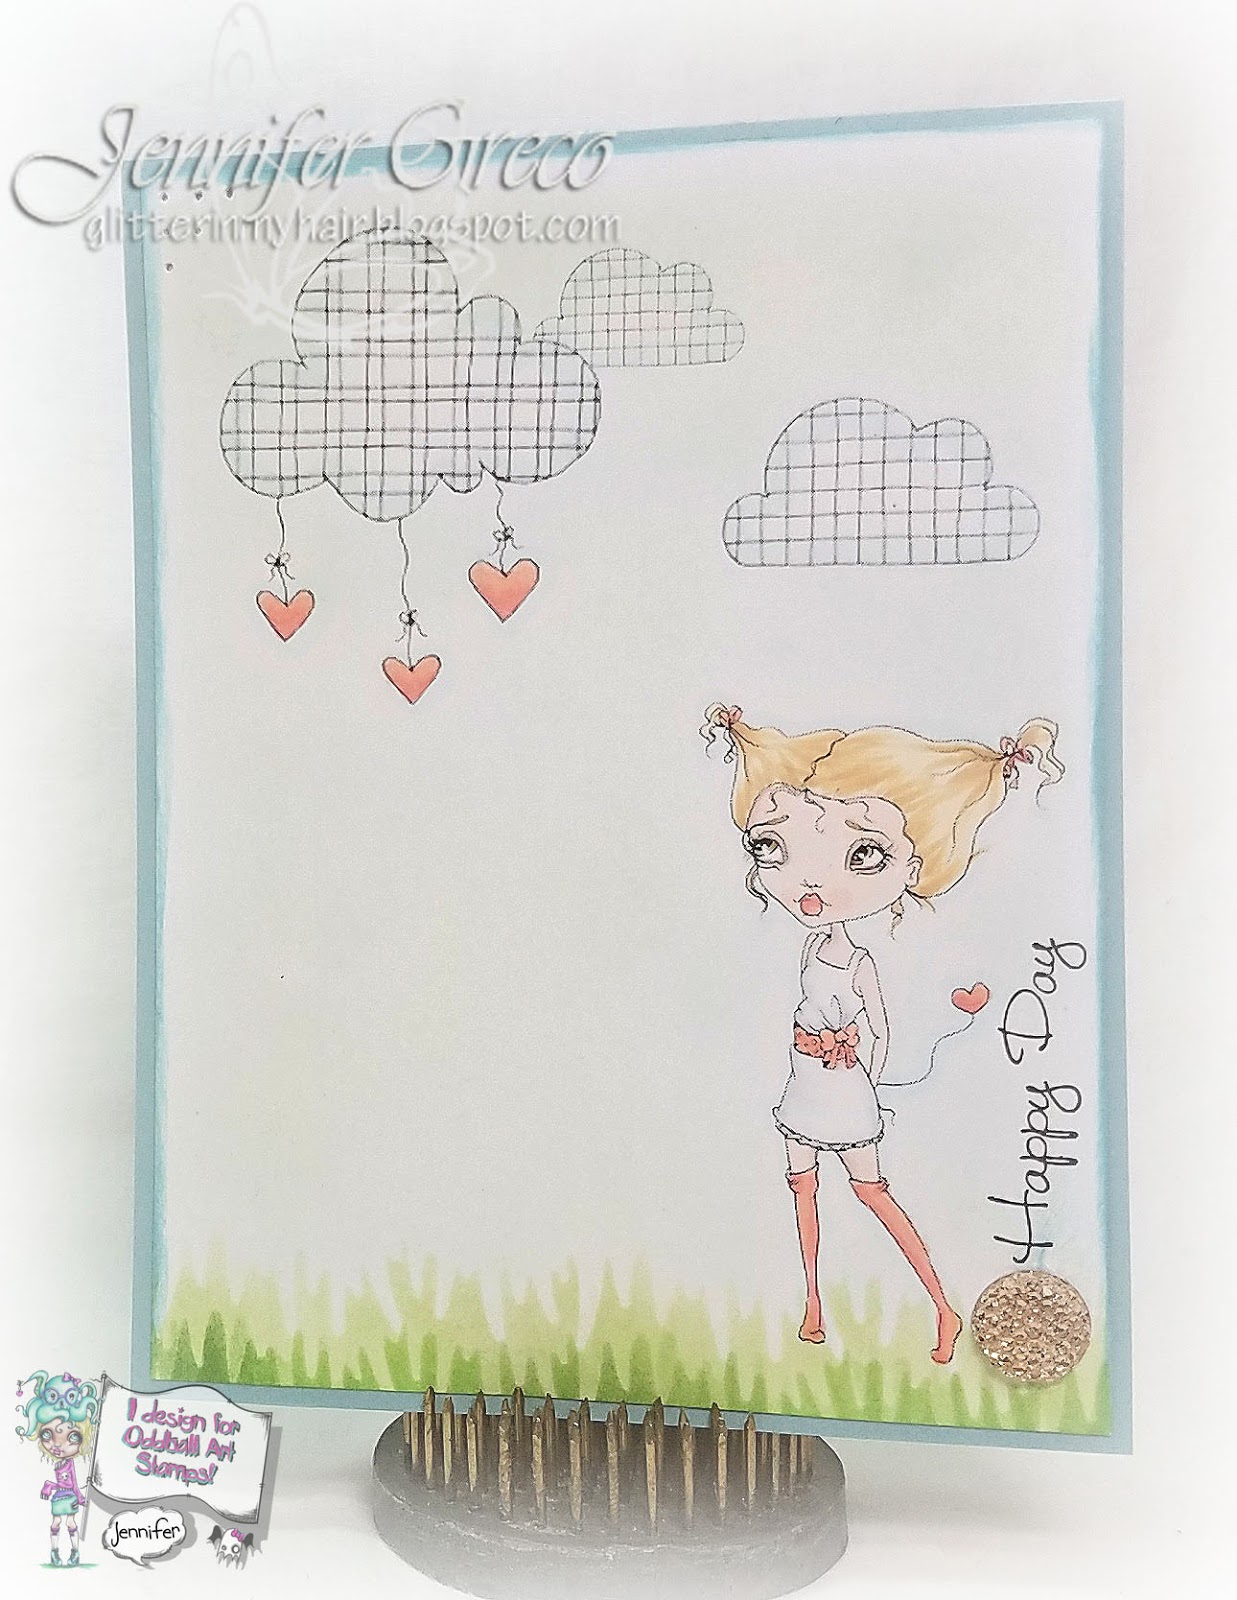
- I created my image scene digitally in Photoshop using Image No. 28 - Clouds Hearts and Stars and Image No. 175 - Sunni from Oddball Art Stamps. When I saw her adorable stocking feet and heart balloon, I imagined her skipping through the grass in her yard, not a care in the world. Lucky girl!
- So, in order for this to work, we're going to need some grass!! I really didn't want to cover up her feet though. Let's stencil!


- Uh oh! That grassy part is the part I want stenciled! It's in little pieces with not a lot of excess though. Don't worry! It's all fine! You can do this one of two ways...either use the smaller sections as they are, or invert the section that remains and use that. They both look like grass, they're just the opposite image of each other. If you happen to be using dies for this, just make sure you position your die so that the image you want allows plenty of scratch space to work as a stencil without ruining your main image panel.
- Now, secure your stencil over the image panel. Make sure it's straight (if that's what you want).

- Then start sponging. Start lightly at first. You can always add color, but you can't remove it. I use makeup sponges for this. See how I covered her feet a bit? That way it looks like she's in the grass.

- After I sponged the Celery ink, I removed the image and decided it needed a little more depth. So I chose Wasabi ink and repositioned the image panel so that the stencil was lower. This way it gives the illusion of layers of grass with the changing colors.


- Use these finished pieces any way you like! Initially, I was planning to sponge some stenciled clouds using some of my different cloud dies, but then I remembered these fabulous cloud digi images, so I used those instead!

In the end, I polished it by using some Soft Sky and Baja Breeze ink on the sky area (the photo looks a bit washed out, but there is blue tint there, I promise), and around the edges. I made it into a card by mounting it on a base of the Baja Breeze cardstock, stamped a sentiment, and tossed on a touch of bling.
One thing to note...you can also use various shapes to stencil a "halo" effect onto your designs, leaving the INSIDE of the shape white/paper colored and highlighting the stenciled halo effect. The possibilities are endless, and the best way to learn is by doing! So grab some scrap papers, inks, and sponges, and see what YOU can come up with!